Creating Your Account
Steps
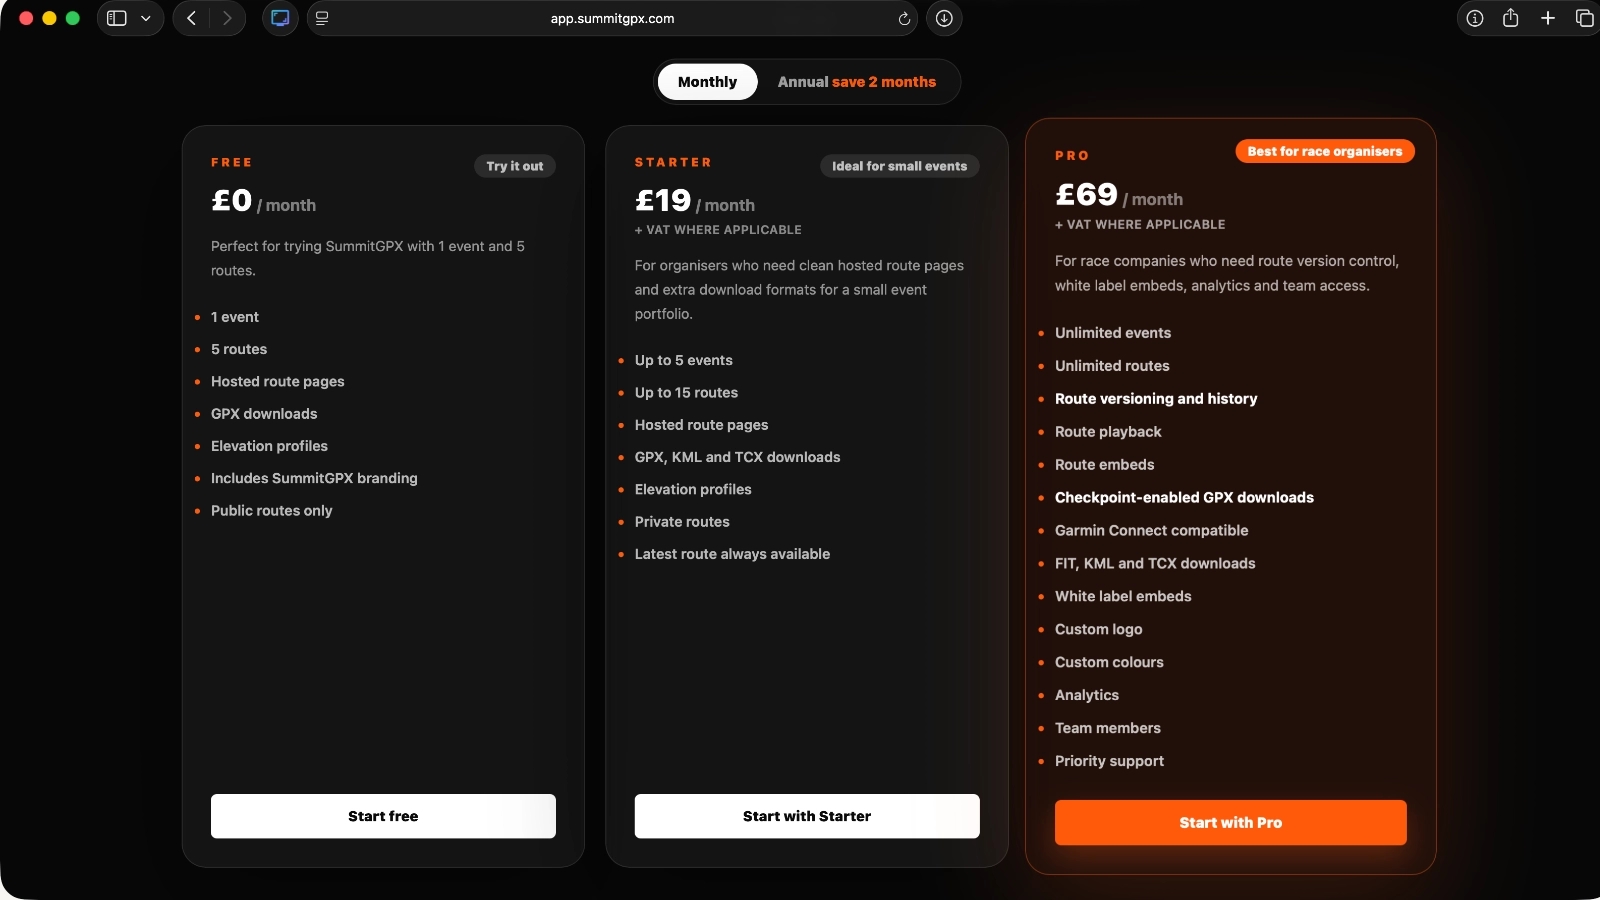
Visit the SummitGPX pricing page
https://app.summitgpx.com/pricing.phpapp.summitgpx.comReview the available plans and select the option that best matches your organisation’s requirements.
Choose a plan
Choose the plan that best suits your requirements.
You can start with a smaller plan and upgrade later as your events and route library grow.
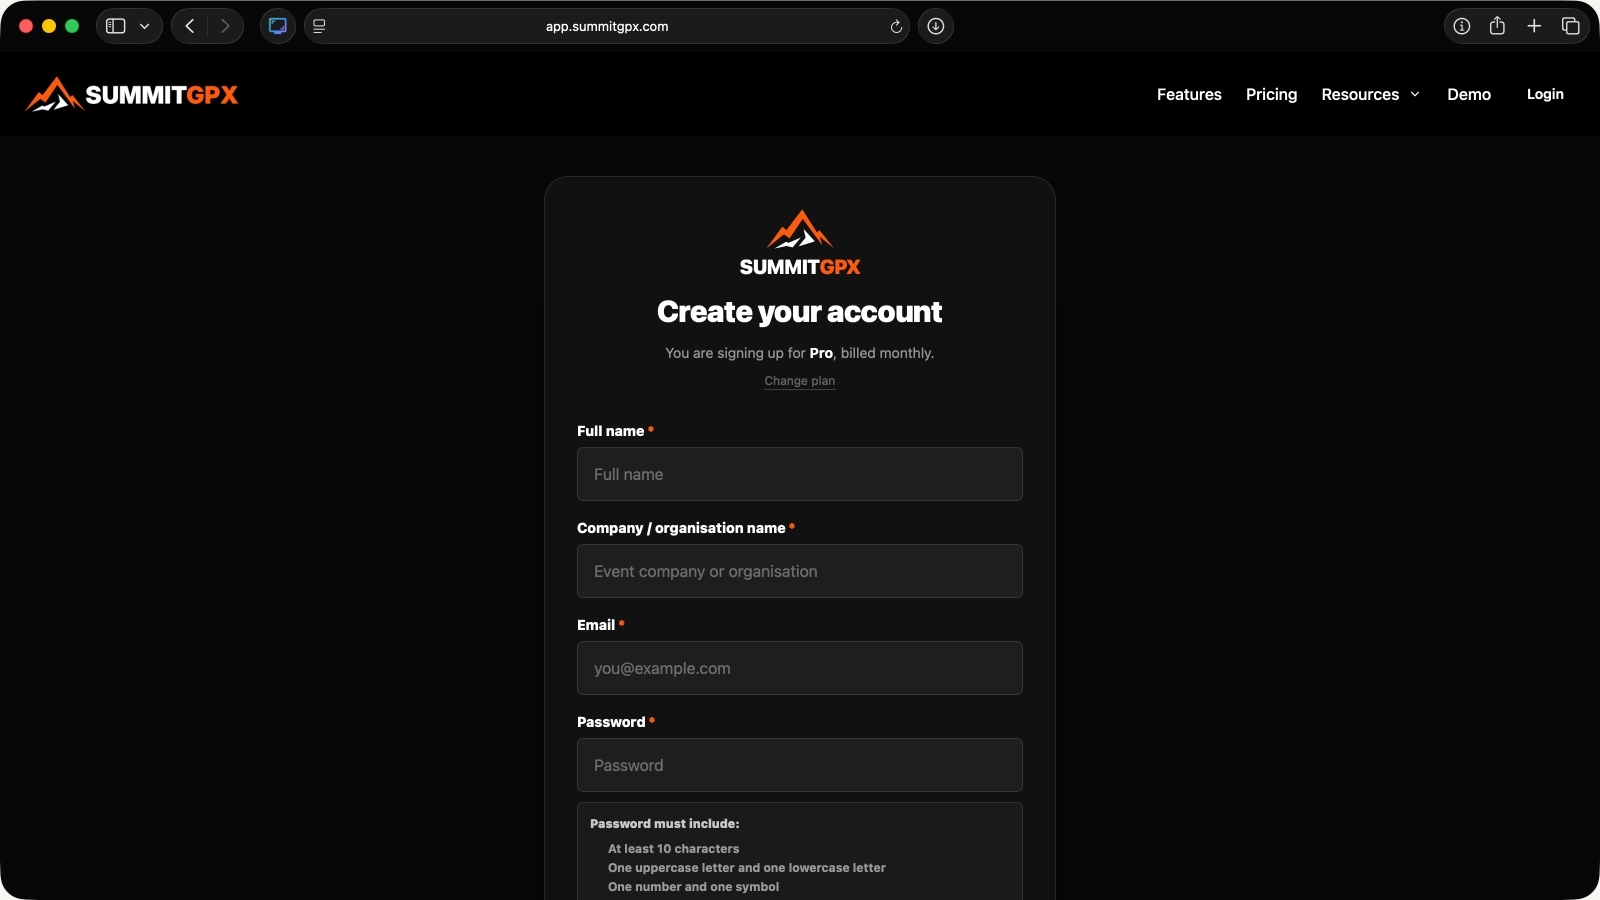
Create your account
Complete the registration form by entering:
- Your name
- Company/organisation name
- Email address
- Password
Then submit the form to create your account.
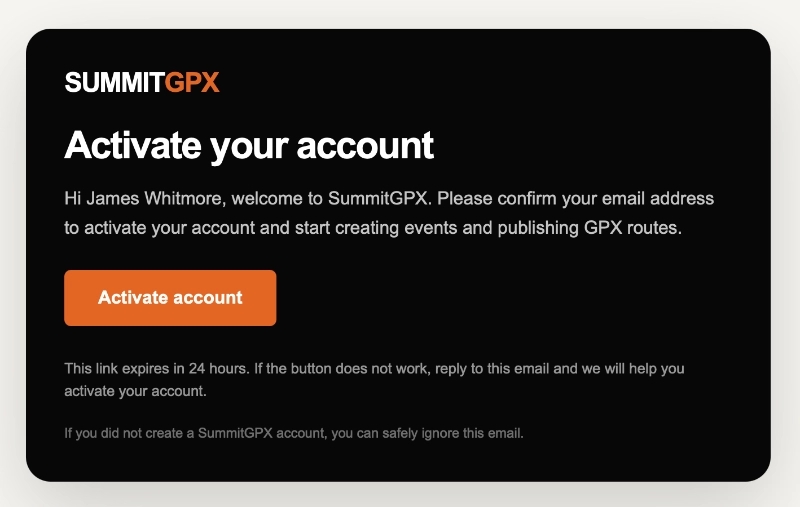
Activate your account
Check your inbox for the SummitGPX activation email.
Click the verification link to activate your account and complete the registration process.
If you cannot find the email, check your spam or junk folder.
Your account will be activated and you’ll be signed in automatically.
Free Plan
You’ll be taken directly to your SummitGPX dashboard.
Starter or Pro Plan
You’ll be redirected to Stripe Checkout to complete payment before accessing your dashboard.
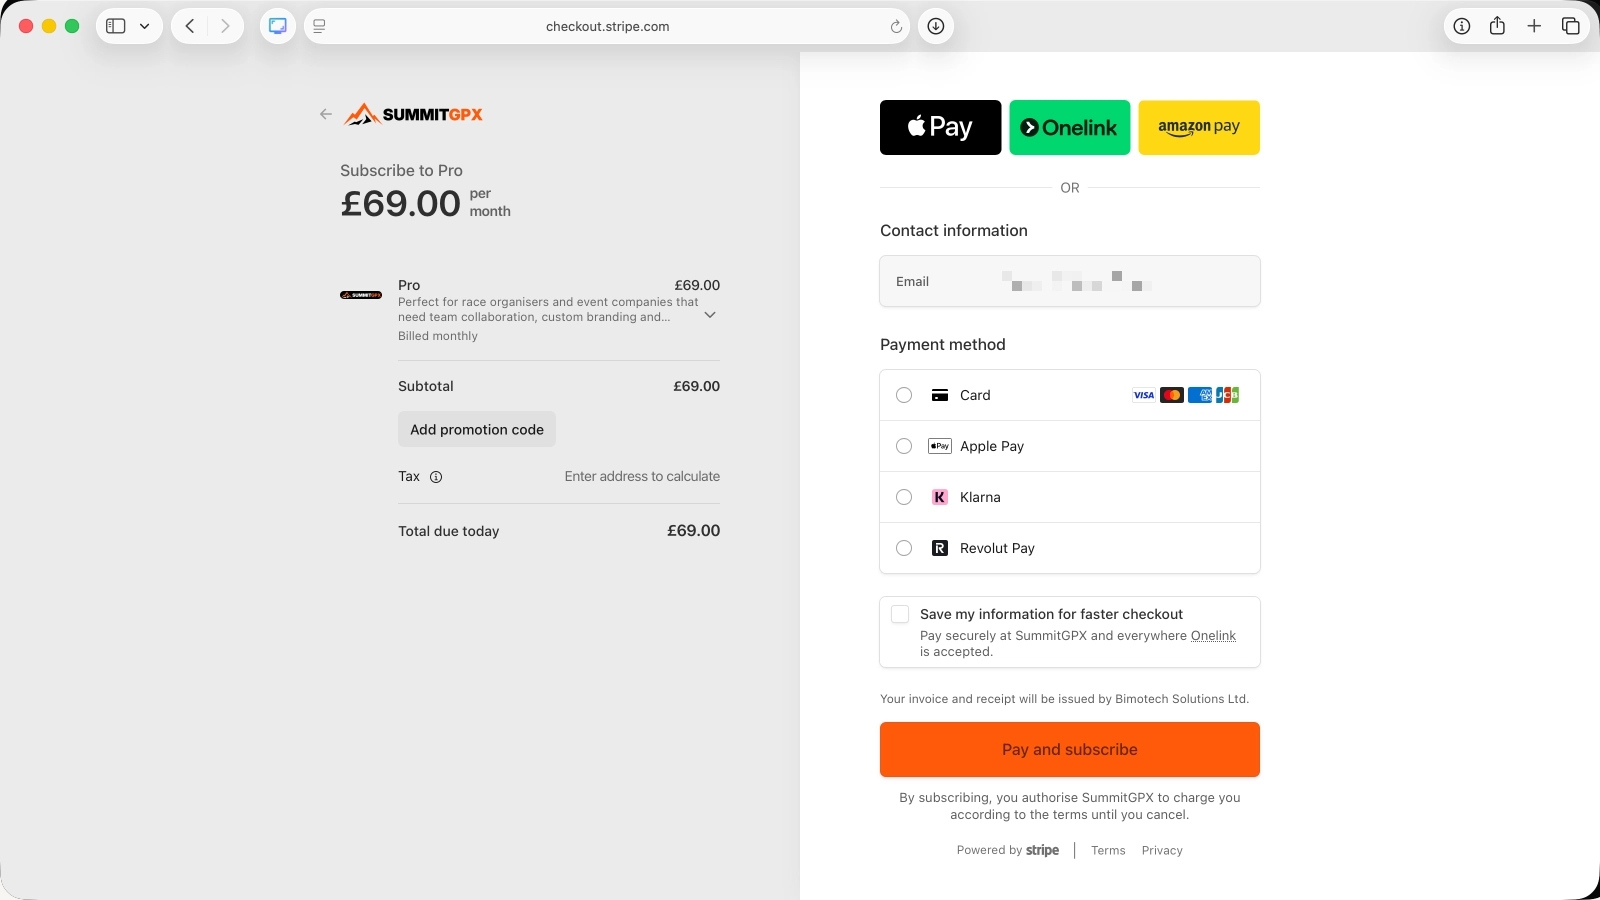
Complete payment (Starter and Pro plans only)
If you’ve chosen a Starter or Pro plan, Stripe Checkout will open automatically.
Enter your payment details and complete the checkout process.
Once payment has been confirmed, you’ll be returned to SummitGPX.
Start using SummitGPX
You’re now ready to:
- Create your first event
- Upload your first GPX
- Generate route QR codes
- Share route pages with runners
If you’re evaluating SummitGPX for a race series or organisation with multiple events, start with a plan that includes the number of routes and team members you’ll need. You can change plans at any time from Account Management.